


Installing Vinyl Plank Flooring: Expert Tips & Advice
2023-09-26, Laura Nieto
Share:

Introduction to LVP Flooring
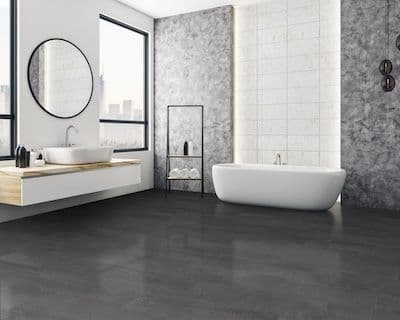
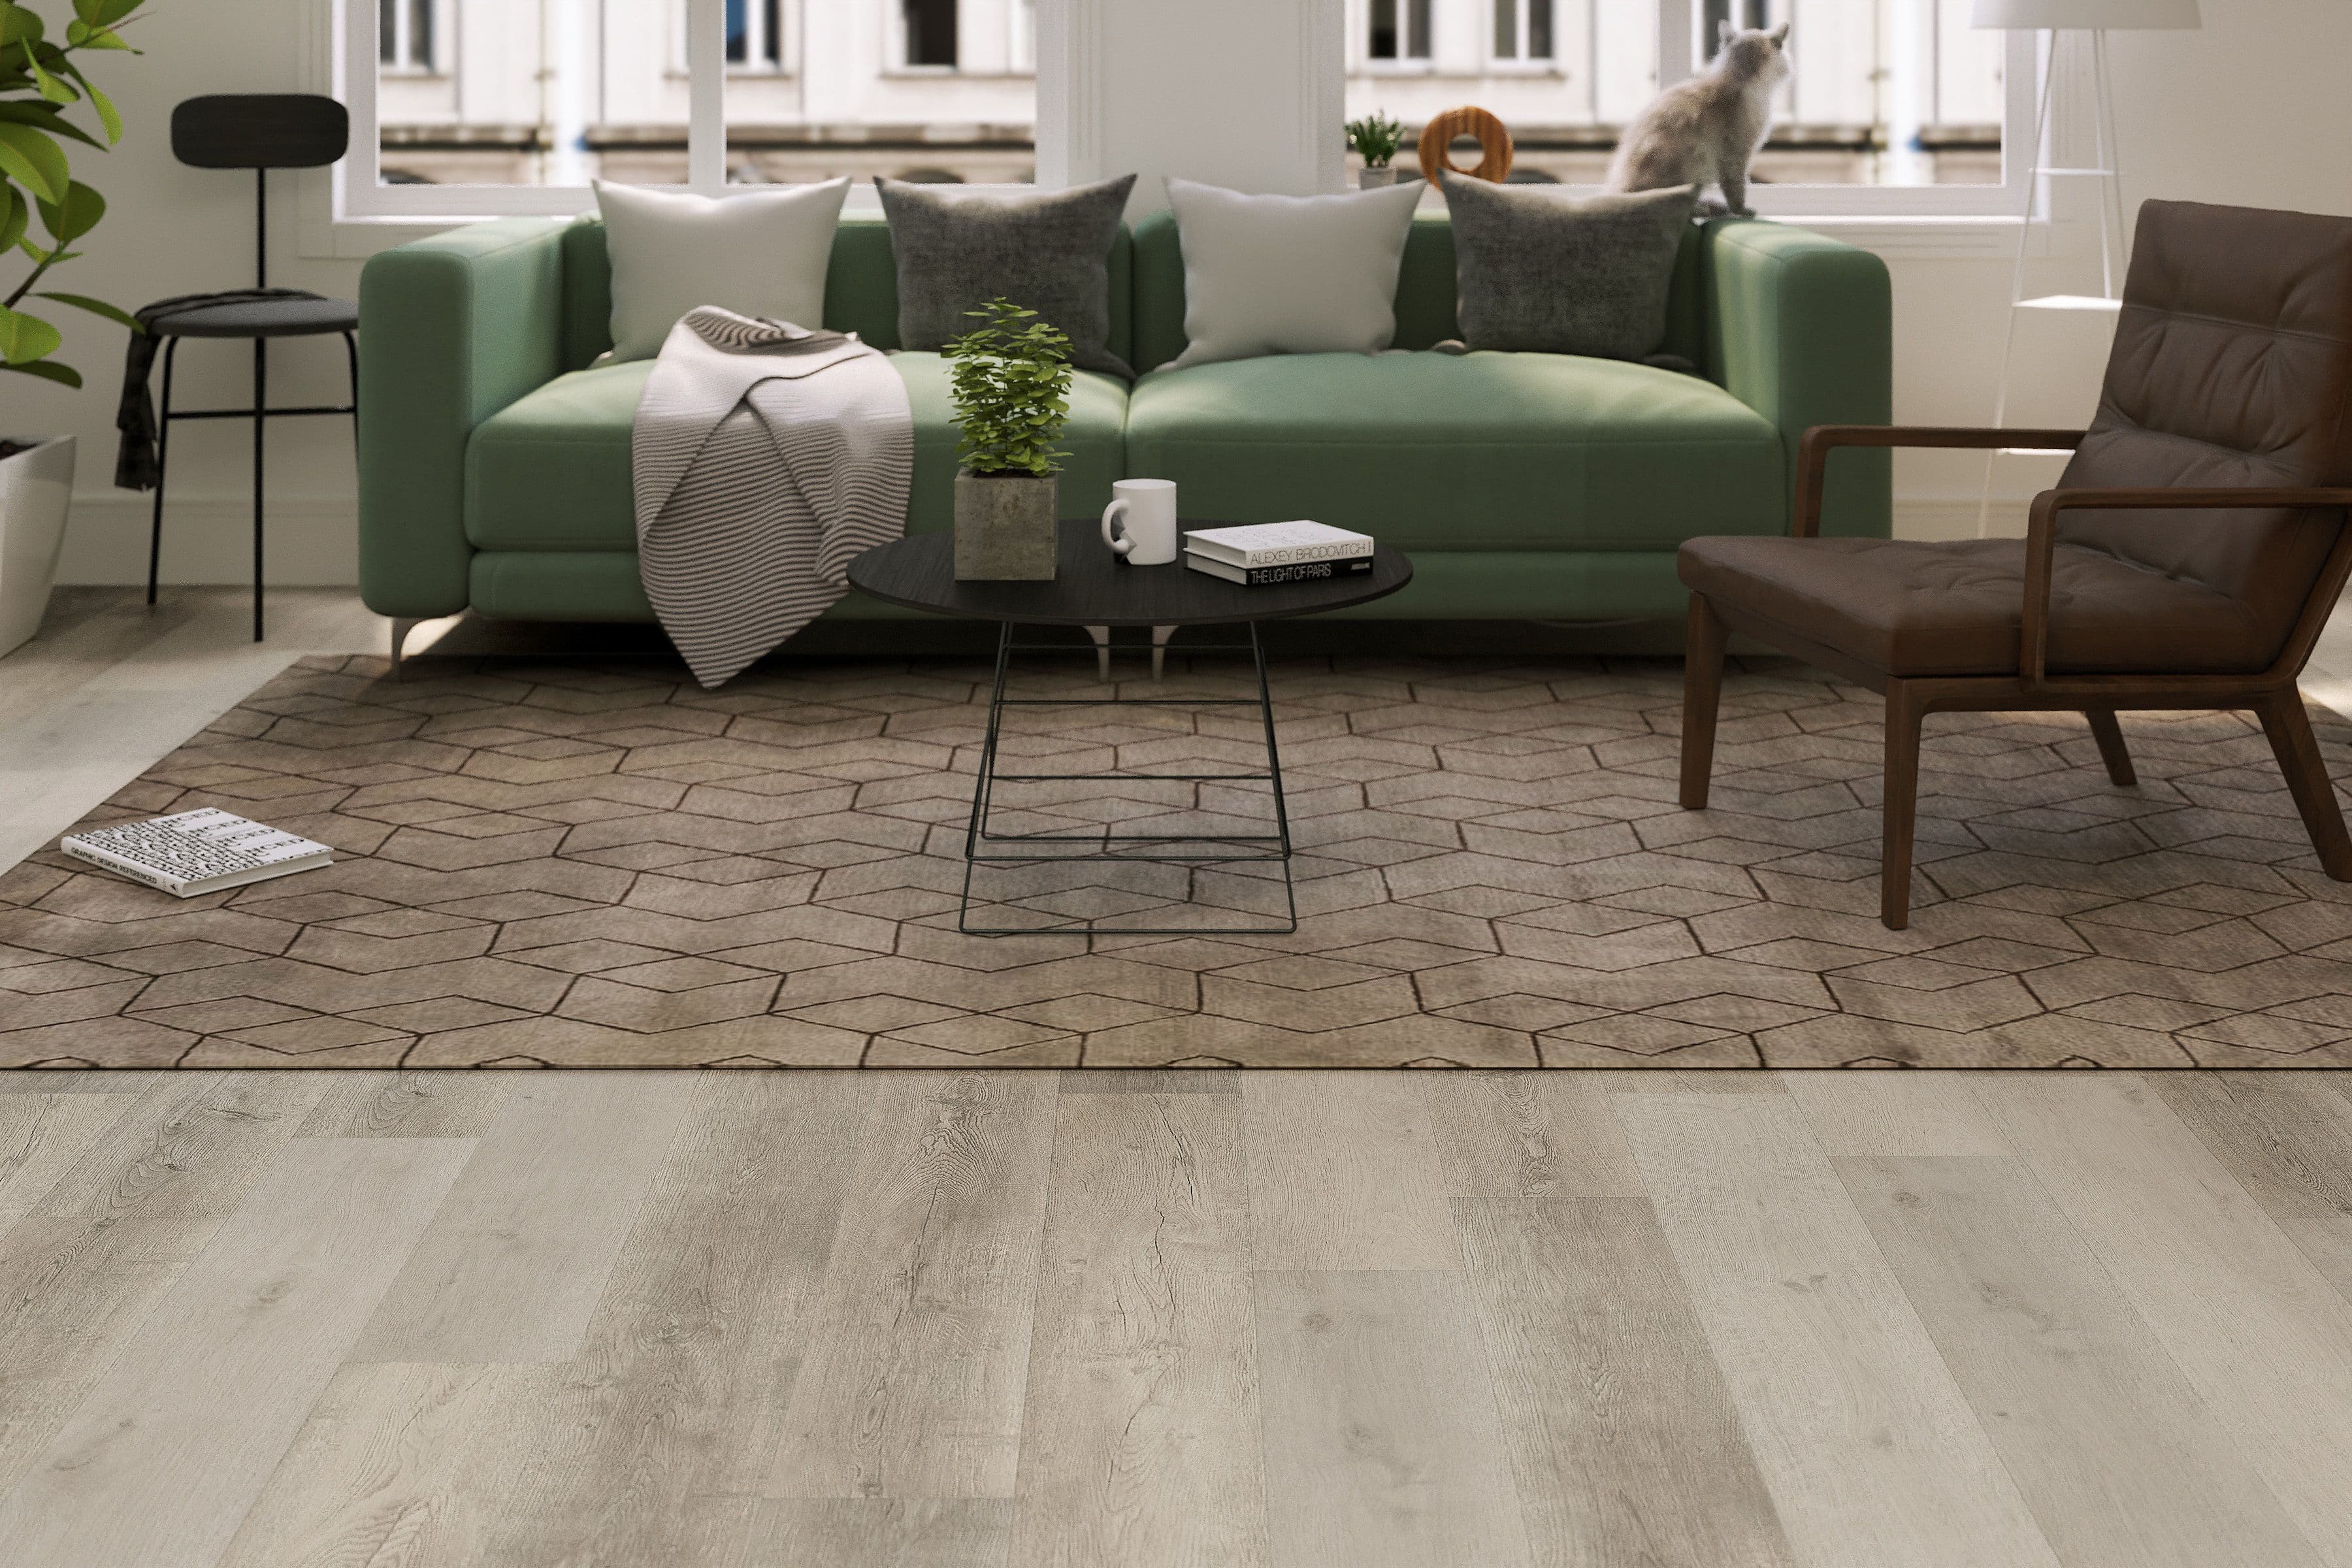
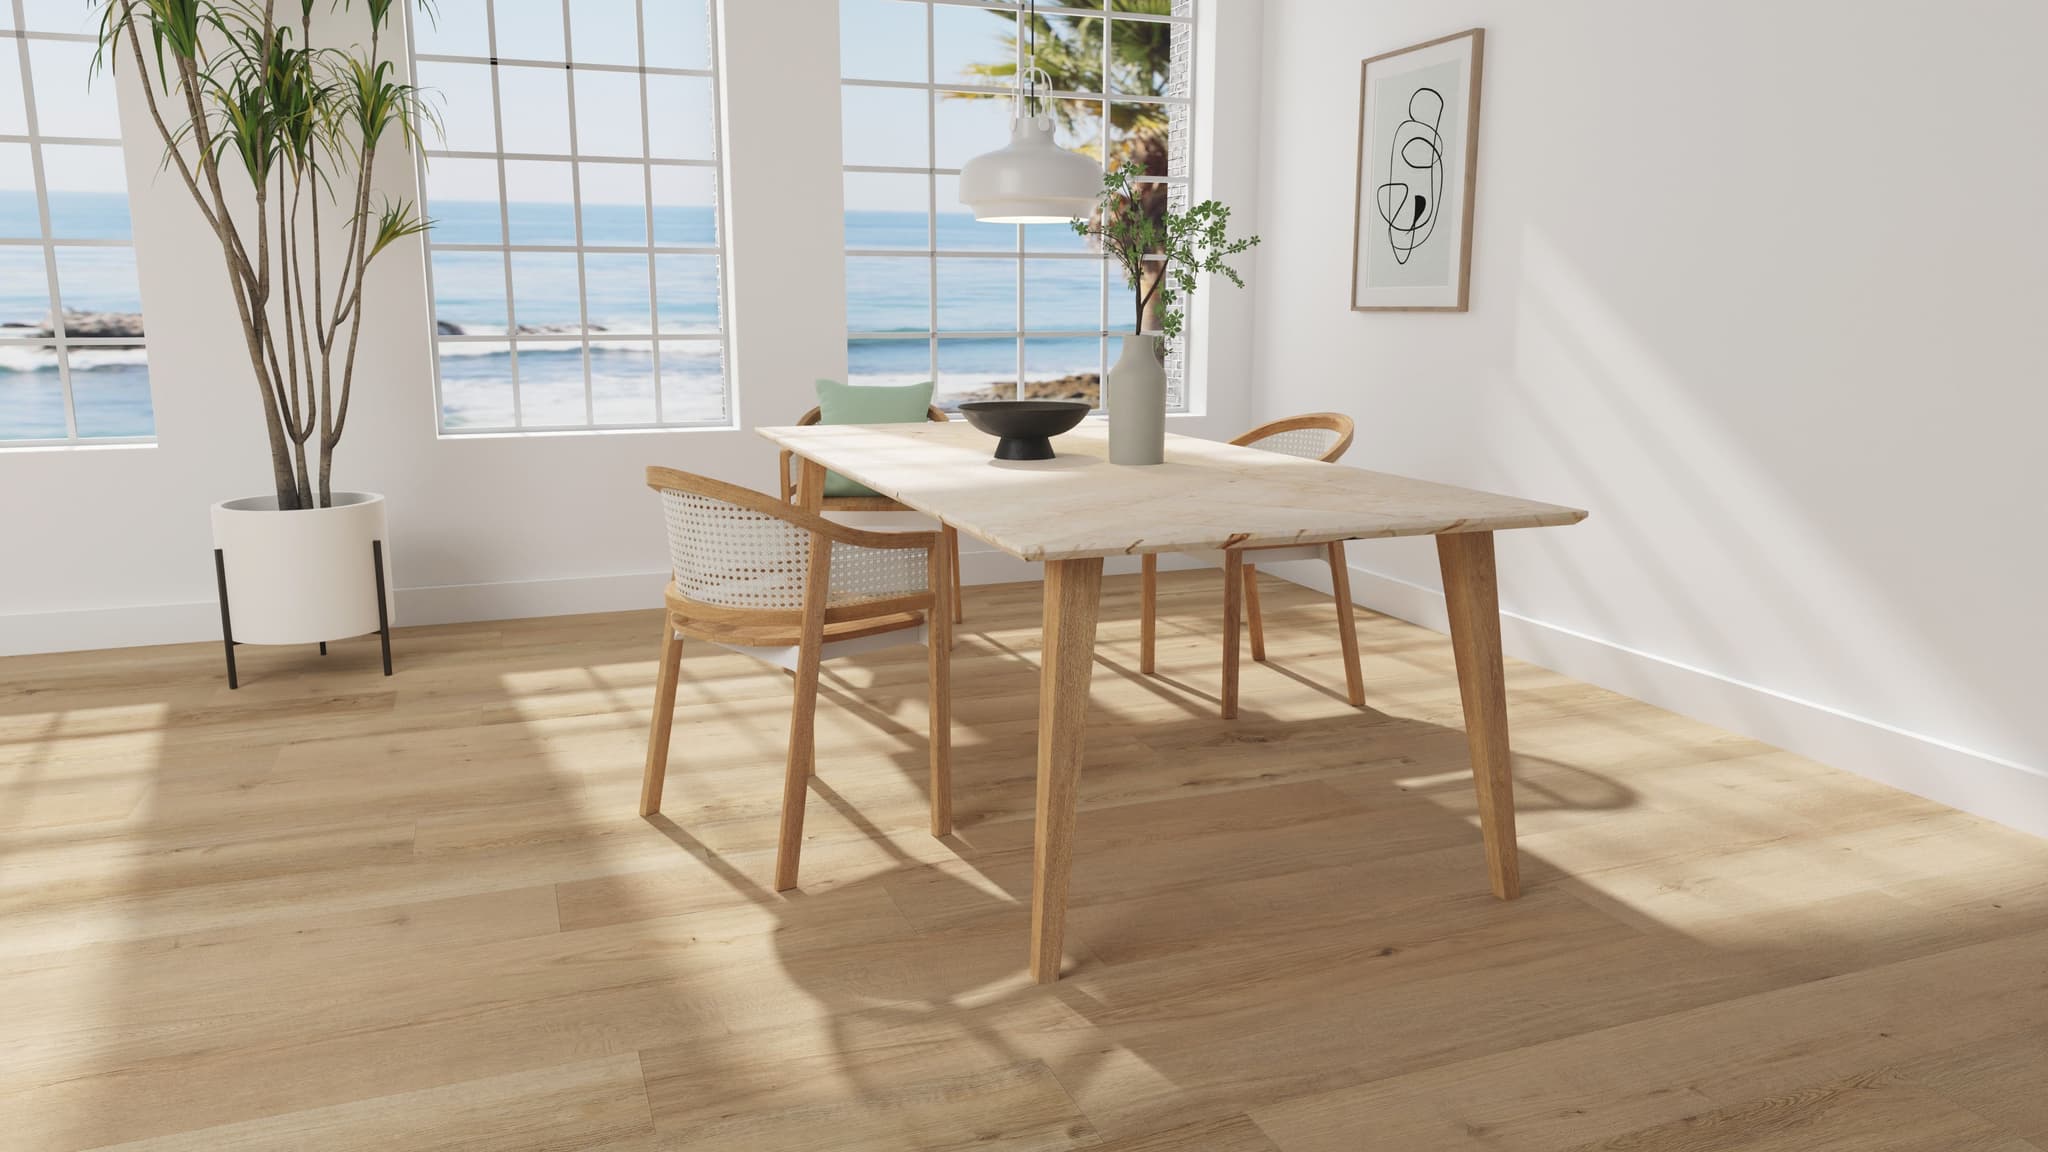
High-quality luxury vinyl plank flooring is a game-changer. With modern-day features like durability, waterproof construction, and an array of design options, it's the dream choice for many homeowners who need new floors. But, like with most home projects, the beauty is in the details. So, while vinyl flooring promises ease and style, following the proper installation process is key to enjoying these benefits. Below you'll find some expert tips for successfully installing vinyl plank flooring.
Remember, you can always visit CALI's Flooring Installation page for detailed guides on how to install each of our flooring collections.
Can a Beginner Install Vinyl Plank Flooring?
Absolutely! At CALI, we believe that even beginners can install vinyl plank flooring with ease. Our products are designed with simple click-lock systems that simplify the installation process by allowing planks to snap together. This design also means you can “float” planks right over the subfloor (just don’t forget your underlayment), eliminating the need for any glue or nails. With some basic tools, careful preparation, and our step-by-step instructions, you can achieve professional results. By following our guides and taking your time to ensure each plank is properly aligned and securely locked, you'll find the process straightforward and rewarding.
Preparing for LVP Installation
• Gather necessary tools and materials: Some basics include a tape measure, pencil, utility knife, rubber mallet, and appropriately sized spacers. Having everything on hand ensures a smoother process. Check the installation guide for your specific floor for more details.
• Inspecting and preparing the subfloor: Ensure the subfloor is dry, flat, level, and clean. Vinyl planks can be laid over most existing hard, flat surfaces, but any carpeting should be removed.
• Addressing potential moisture issues:It’s crucial to conduct a moisture test when installing over concrete. If your subfloor has signs of moisture, don’t skip out on using an appropriate moisture barrier like CALI Complete underlayment. Remember, prevention is always better than cure.
Step-by-Step LVP Installation Guide
• Creating a layout plan and marking guidelines: Before laying down any planks, take measurements. Your final row should ideally be at least one-third the width of a plank.
• Starting with the first row: Begin with a cut plank of at least 8 inches in length, ensuring you keep it aligned. Remember to place the spacers against the wall to maintain proper expansion space.
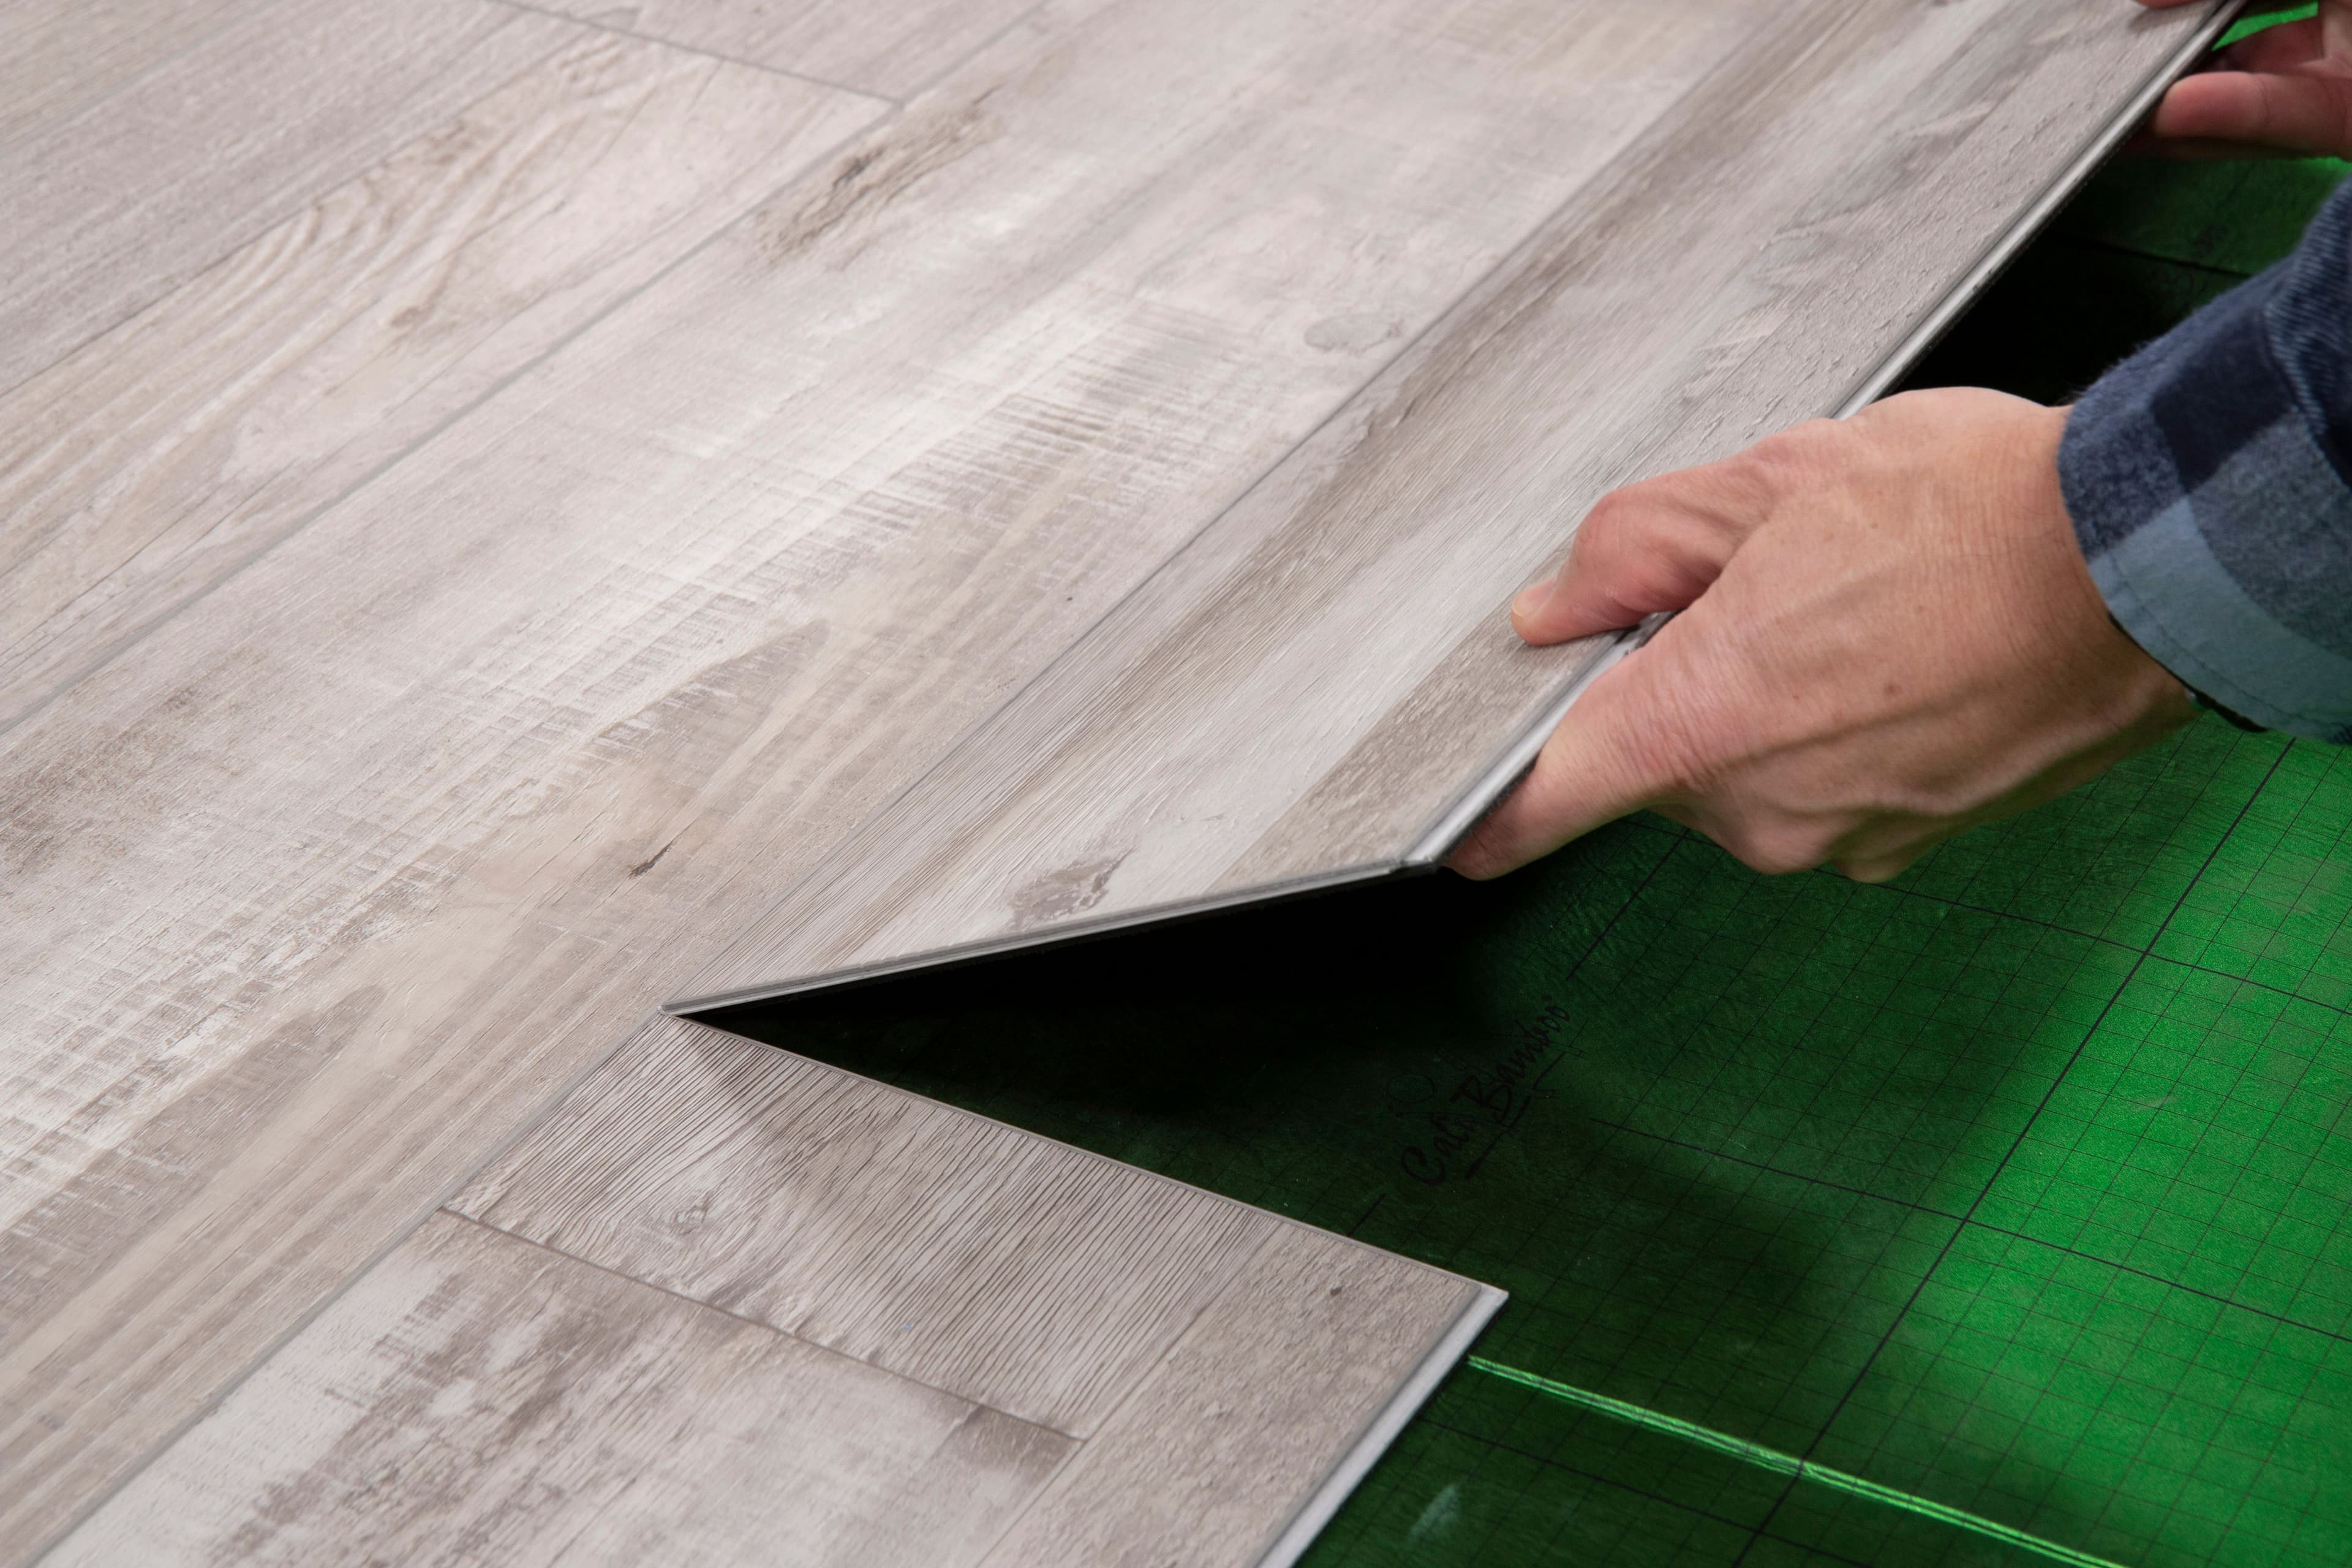
• Note your installation method: If you’re using CALI Vinyl, you’re in for a treat! The rapid click-lock system requires no glue or nails. Just click into place, and you’re good to go!
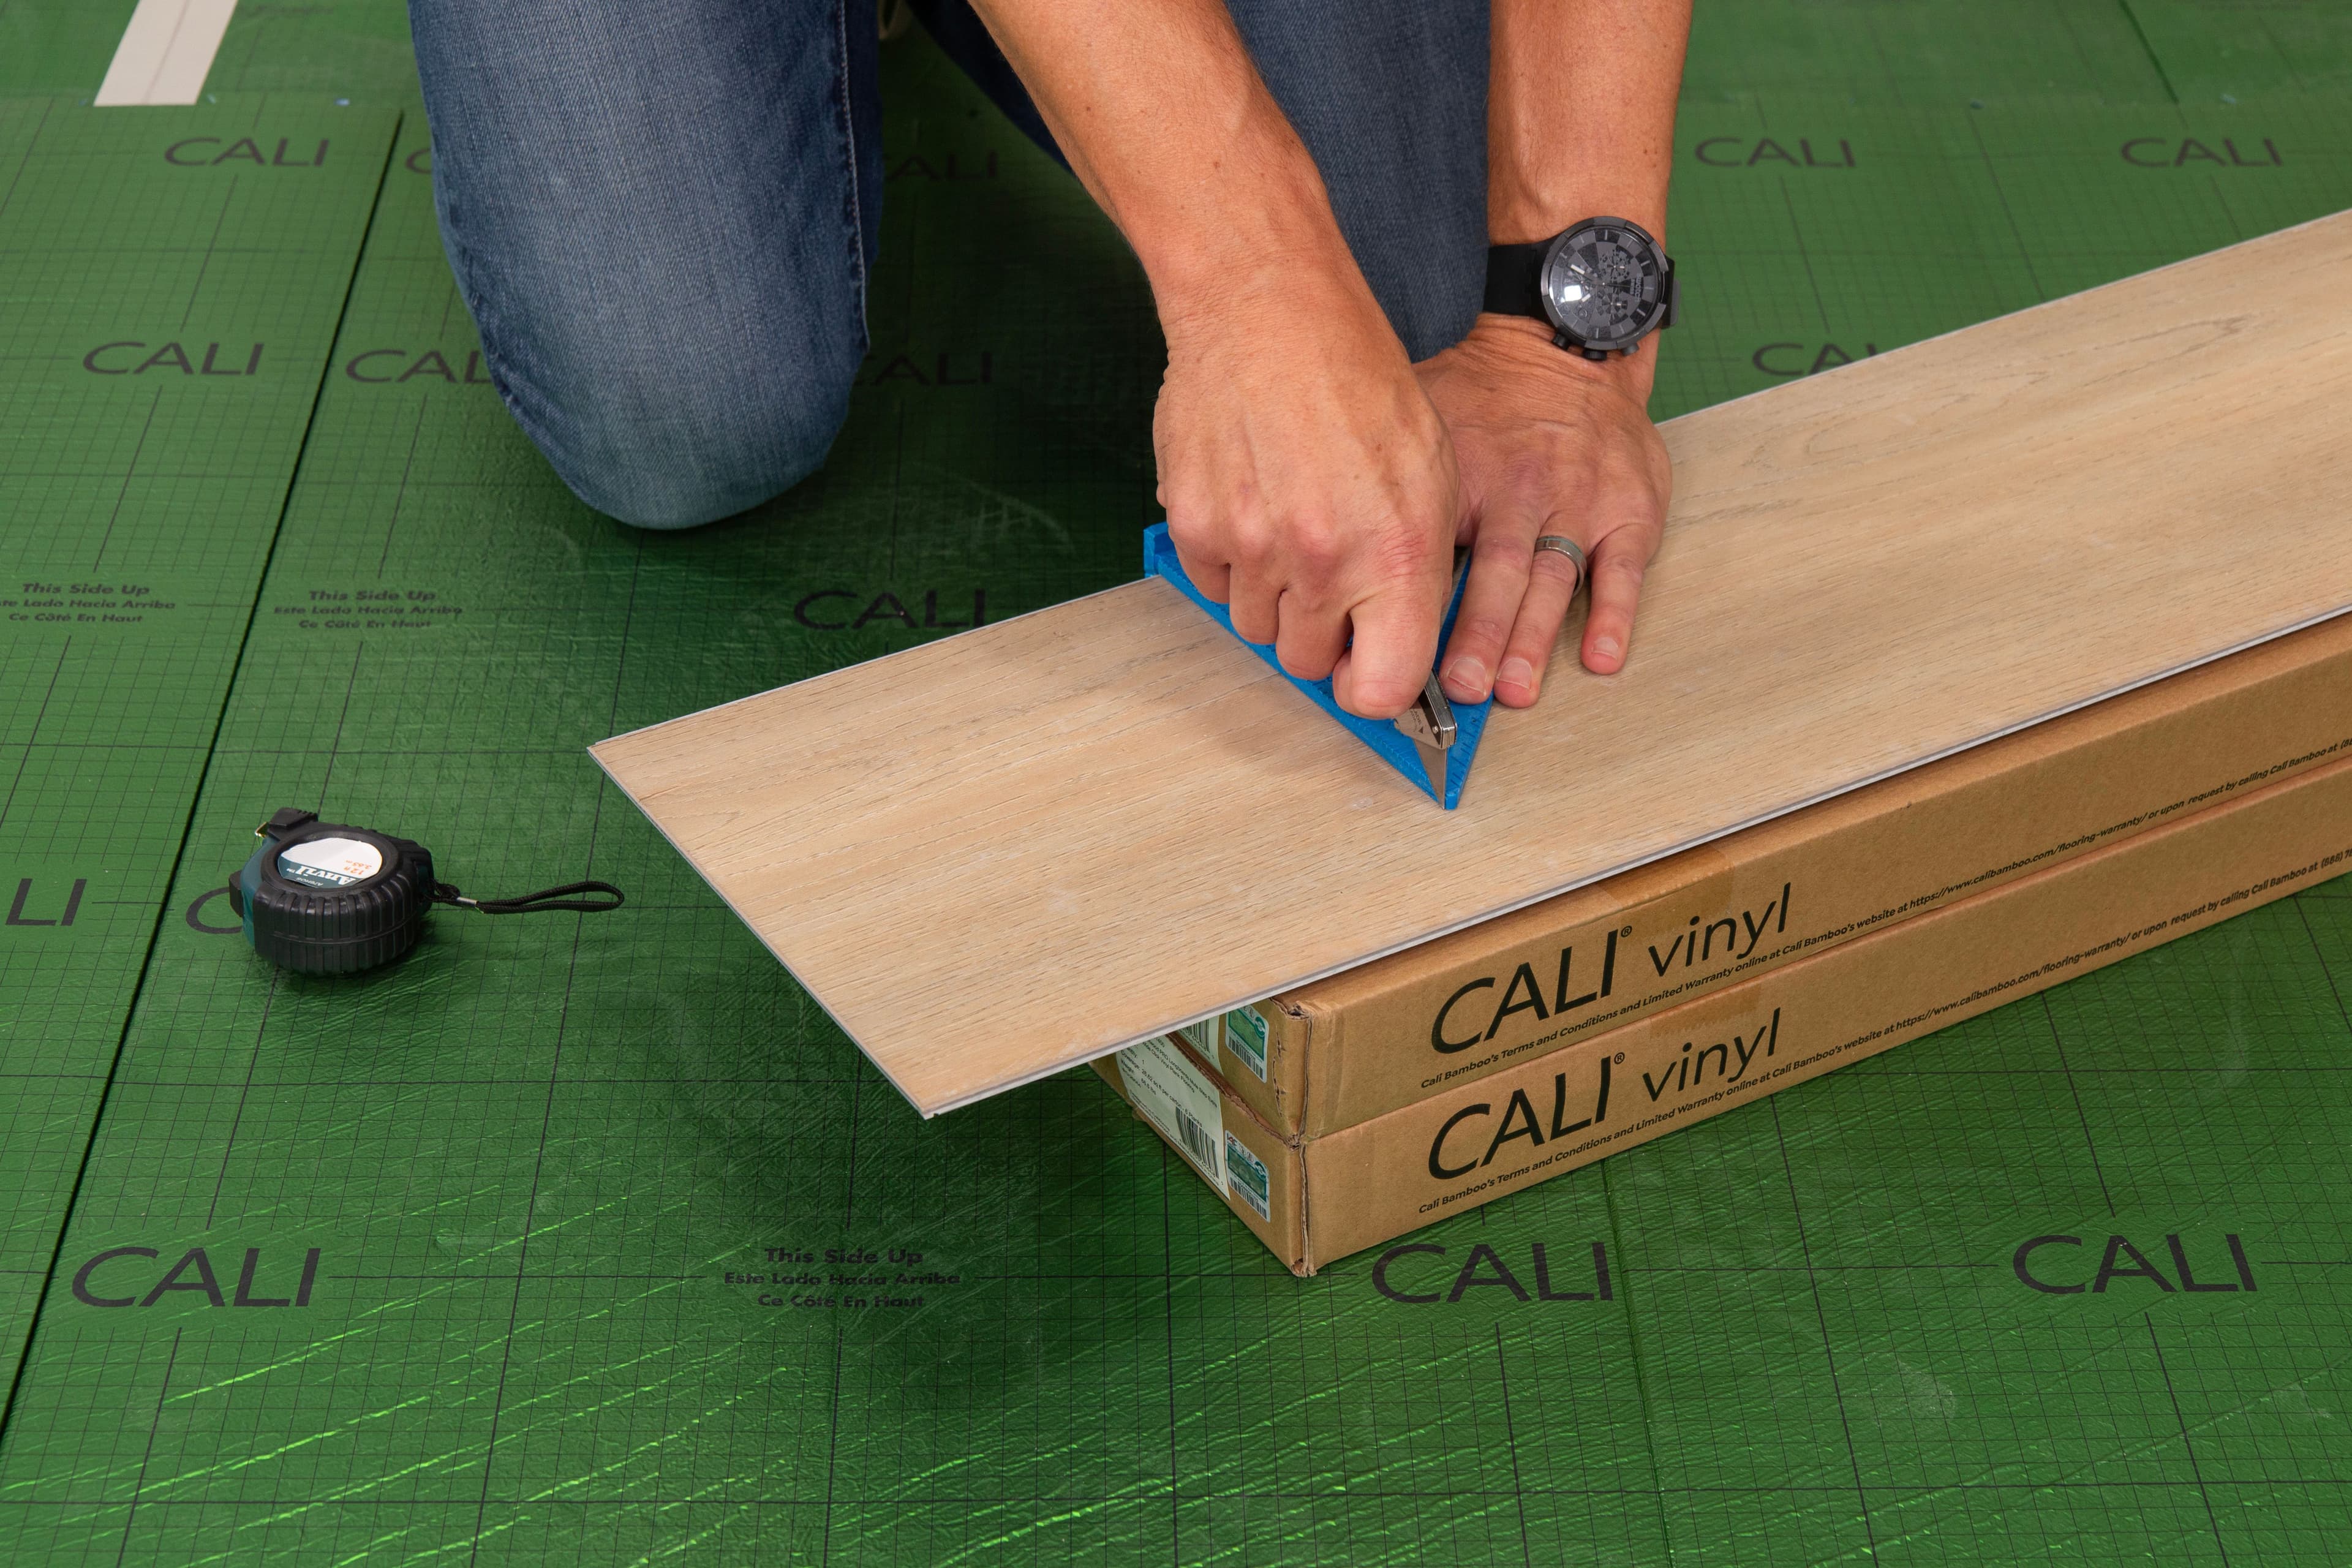
• Cutting and fitting planks around obstacles: Obstacles are inevitable. When trimming the ends of CALI Vinyl planks, you can score with a utility knife and then snap the end off. For more complicated cuts, a miter or table saw can be a lifesaver.
• Maintaining a consistent pattern: Avoid having seams align between rows. Always use cut pieces from previous rows as starter boards to reduce waste and avoid H-joints.

Tips on How to Cut Vinyl Flooring
Cutting sections off vinyl flooring planks to make them fit your row is straightforward and simple. Always ensure you’ve measured everything correctly. As the saying goes, “measure twice, cut once” to avoid any costly mistakes. Use a sharp utility knife or vinyl cutter to give you cleaner cuts and reduce the risk of errors. Score the vinyl deeply with the blade before snapping it along the cut line for a precise finish. It’s helpful to cut the plank along a straightedge to keep your cut straight and accurate. You may want to practice this scoring and snaping method on some scrap pieces before cutting any actual planks. With these tips, you can achieve a professional-looking vinyl flooring installation with ease. Note that more complicated cuts and ripping planks lengthwise will require an electric saw. For more details on cutting vinyl planks, check out the full article here.
Finishing Touches and Aftercare
• Installing baseboards and trim: Once you've laid down all the planks, conceal those expansion gaps with baseboards or trim pieces, adding a polished finish. Find all CALI flooring accessory pieces here.
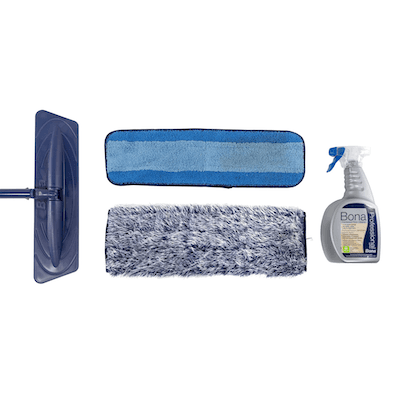
• Maintenance and cleaning routines: Like any flooring, regular cleaning will maintain LVP’s sheen. Opt for cleaners that are vinyl-floor friendly like BonaPro Series Hard Surface Floor Cleaner. Maintaining the fresh, new look of your vinyl plank flooring is simple with a few key tips and tricks. Be sure to use a doormat at all entrances to minimize dirt and debris. For regular cleaning, sweep or vacuum (without the beater bar setting) to remove surface dirt, then damp mop with a solution Bona Floor Cleaner. This mixture effectively cleans without leaving a residue. For more tips and tricks about protecting your CALI vinyl plank flooring, click here.
• Addressing minor repairs and scratches: Accidents happen. Always have a few extra planks handy. For minor scratches, floor repair kits can be handy. CALI recommends WearMax Vinyl Scratch Concealer for quick fixes.

What are some of CALI's most popular Vinyl Plank Flooring options?
- CALI Vinyl Legends
Our Legends collection represents the pinnacle of vinyl flooring, offering the thickest and most luxurious boards in our lineup. These premium planks are designed with an insulated WPC (Wood Plastic Composite) core, providing superior comfort and cushioning underfoot. The enhanced thickness and core construction not only mimic the look and feel of genuine hardwood but also offer excellent thermal insulation and sound absorption. Perfect for high-traffic areas, the Legends Collection combines elegance with durability, ensuring your floors remain beautiful and resilient for years to come. See the full Legends collection here.
- CALI Vinyl Longboards
The Longboards collection has earned its status as an all-time favorite among our customers, celebrated for its impressive dimensions and striking color options. These extra-long planks create a sense of openness and grandeur in any room while remaining user-friendly for installation. Reinforced with an SPC (Stone Plastic Composite) core, Longboards planks offer exceptional resistance to dents and impacts, making them ideal for busy households or commercial spaces. The collection’s diverse color palette and realistic wood textures cater to a wide range of interior styles, providing both aesthetic appeal and robust performance. See the full Longboards collection here.
- CALI Vinyl Windansea High Tide
For those seeking the longest vinyl planks available, the Windansea High Tide collection is the perfect choice. These extended SPC vinyl planks are designed to make any room appear more spacious and inviting. Like our Longboards and Legends collections, Windansea High Tide planks are constructed with attached padding which enhances comfort underfoot and reduces noise, creating a more pleasant living environment. The Windansea High Tide collection is ideal for homeowners looking to achieve a seamless, expansive look with the added benefits of easy maintenance and long-lasting beauty. See the full Windansea High Tide collection here.
Installing luxury vinyl plank flooring might seem daunting, but with the right tools, a bit of patience, and a handy guide (like the ones found here!), you're well equipped for success. CALI Vinyl, with its rapid click-lock milling, makes the process even smoother, allowing you to install vinyl plank flooring right out of the box without a fuss. Whether you're renovating a space or starting fresh, remember – with the right vinyl flooring, every step you take will feel (and look) fantastic!
Room Visualizer Tool
Use this 3D tool to imagine CALI Floors in your home!

Room Visualizer Tool
Use this 3D tool to imagine CALI Floors in your home!
Square Footage Calculator
Figure out how much flooring you will need for your CALI Floors Project

Square Footage Calculator
Figure out how much flooring you will need for your CALI Floors Project
Related Articles
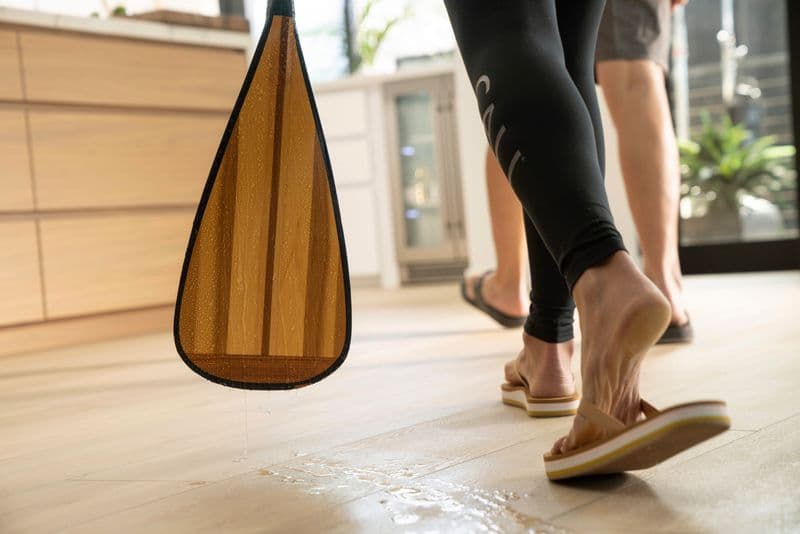
Waterproof Flooring
Entryway Flooring Tips for Rainy Weather Protection
Waterproof Flooring
What Is the Best Vinyl Plank Flooring?

Waterproof Flooring