








Vinyl Loose-lay Flooring Installation
Share:

Reference this guide for our latest installation recommendations.
View and Download PDFBefore you begin installation, remember to P.A.C.E. yourself with the checklist below. Full installation instructions and maintenance guidelines can also be found online at


Proper installation and maintenance are key to achieving the best flooring results. It is the responsibility of the installer/ owner to follow all guidelines provided by CALI for success. Please read through this document completely. Additional installation materials including videos and illustrations can be found at CALIFloors.com.
- Installer/Owner assumes all responsibility to inspect flooring before installation.
- During installation, it is the installer’s responsibility to document all jobsite conditions and measurements including the installation date, site relative humidity, temperature, and subfloor moisture content. For a complete list of points to address prior to installation, refer to ASTM F1482 − 21.
- Do not install flooring under permanent or fixed cabinetry.
- Never nail or screw anything through a FLOATED floor.
- Underlayments over 2mm should not be used. Due to the thickness of SP1, use of any padded underlayment will void the warranty.
Transport, Storage, Acclimation
- Transport and store cartons in lay down, flat position.
- Room temperature and relative humidity must be consistent with year-round living conditions for at least 5 days prior to installation.
- Allow Legends, Laguna, Longboards Icons, and Trestles flooring to acclimate, unopened in original packaging as close to the installation area as possible for at least 24 hours prior to install. Keep away from direct sunlight.
- Due to the nature of Longboards, All-Star & SP1 acclimation is not needed. Installation can start immediately unless flooring is stored in extreme temperatures. If stored in extreme temperatures, bring flooring into normal living conditions for 24 hours.
Acceptable Subfloor Types
- CD Exposure 1 plywood (grade stamped US PS1-95)
- OSB Exposure 1 subfloor panels
- Underlayment grade particleboard
- Concrete slab
- Existing wood (for glue down, must be sanded to its raw state)
- Ceramic tile (must fill in grout lines with a compatible patch compound. For glue down, confirm with manufacturer of adhesive any necessary subfloor preparations required for compatibility)
- Resilient tile and sheet vinyl (for floating only)
Wood Subfloors
- Must be securely fastened. A best practice is to nail or screw every 6” along joists to avoid squeaking. If leveling is needed, sand down high spots and fill in low spots with a Portland based leveling compound.
- The subfloor must consist of double layer construction with a minimum total thickness of 1-inch.
- The subfloor must be rigid, free from movement.
- Sleeper systems must not be in direct contact with concrete or exposed earth.
- The ground beneath the subfloor must be covered by a suitable vapor barrier.
- Test your plywood subfloor with a moisture meter set to the appropriate wood species. If your plywood subfloor is reading higher than 13% moisture, find and correct the source of moisture intrusion before continuing installation.
- Crawl spaces must have a minimum of a 6mil polyethylene sheeting covering any exposed earth.
- Crawl spaces
Concrete Subfloors
- Concrete subfloors must be fully cured and at least 60 days old, preferably 90 days old.
- If leveling is needed, grind down high spots and level low spots with a Portland based leveling compound.
- Thoroughly clean and ensure there is no paint, tape, old adhesive, etc. If glueing down the floor, do not use a chemical adhesive remover to remove substances from the floor as this may affect the adhesive bond.
- Concrete alkaline levels must be between 5.0 and 9.0 PH. The subfloor must not have Alkali Silicate Reaction. Prepare the subfloor according to “ASTM F710 Standard Practice for Preparing Concrete Floors to Receive Resilient Flooring.
- The subfloor must be free of hydrostatic pressure.
- All on-grade and below-grade slabs must have a confirmed & effective vapor retarder installed directly underneath the slab that meets the requirements of “ASTM 31745 Standard Specification for Water Vapor Retarders Used in Contact with Soil or Granular Fill under Concrete Slabs”.
Test the concrete for moisture
- Moisture content must be under 5lbs per 1,000 sq. ft. per 24 hours using a calcium chloride test according to ASTM F1869.
- If using ASTM F2170 in-situ probes, the RH must be less than 90% RH (relative humidity).
- Three tests should be conducted for areas up to 1,000 sq. ft. Perform one additional test for each additional 1,000sq. ft. Always measure, record and keep your testing results.
- Apply a moisture barrier if the moisture content exceeds the limits noted above.
Important:
Note: Damage caused by using a moisture barrier not provided by CALI is not covered under warranty.
Radiant Heat Systems
CALI Vinyl flooring is only recommended for use over radiant heat systems if the special requirements specified by the radiant heat manufacturer’s guidelines are met. Ensuring stable job site conditions, subfloor suitability, and proper acclimation are especially important when installing over a radiant heat system. It is the responsibility of the installer to ensure that the recommended environmental conditions are met for installation. Refer to your radiant heat system manufacturer to determine its compatibility with vinyl flooring, and to learn the specific requirements for installation. For more detailed information about radiant heat systems, visit the Radiant Heat Professionals Alliance (RPA) at
- Because of the wide variety of systems on the market (Hydronic, embedded in concrete, electrical wire/coil, heating film/mat) each with its own features and applications it is recommended that the user consult with the radiant heating provider for best practices, installation methods and proper subfloors.
- With CALI Vinyl the floating installation method is the only method recommended for use with radiant heat systems.
- Radiant heat system must be turned on and in operation for at least one week before installation.
- The system must be turned down to 65°F and maintained 24 hours prior to installation.
- Once install is complete, turn system back on and slowly bring back up to normal operating temperature over a period 4-5 days. Increase the temperature in 5 degree increments to avoid overheating.
- Floor should never be heated over 85°F. Consult with your radiant heating system manufacturer to successfully limit the maximum temperature.
- Always remember that rugs placed over radiant heated flooring can increase the surface temperature in that area by 3°- 5°F degrees.
- Relative Humidity must be maintained between 20-80%.
- When turning off the radiant heat system it must be turned down slowly at a rate of 1.5° degrees per day. You should never just turn the system off.
Recommended Tools
- Tape measure
- Pencil
- Speed Square
- Spacers
- Chalk line
- Utility knife
- Pullbar
- Rubber mallet
- Tapping block
- Miter saw
- Table saw


Measure room at a right angle to the intended plank direction to determine the width of the first and last row. The first and final rows should be at least 3 inches wide. Due to this requirement, planks in the first row may be cut to a smaller width. Lay planks along the longest, straight, exterior-facing wall whenever possible.

Shuffle planks from multiple cartons to achieve a balanced color and shade distribution.

Expansion Gap & Transitions
- Maintain the correct expansion gap around the perimeter of the room & all fixed objects (tile, fireplace, cabinets).
- If the installation exceeds 50ft, an expansion space of 3/4” is required for WPC flooring such as Laguna, Legends or Trestles. No additional expansion space is required for SPC flooring such as, All-Star, Longboards, or SP1.
- Transition pieces are necessary for installation areas exceeding 80ft in any direction for all vinyl collections.
- CALI offers vinyl flooring moldings to cover expansion gaps.
When installing around pipes, drill holes 3/4” larger than the pipe’s diameter.

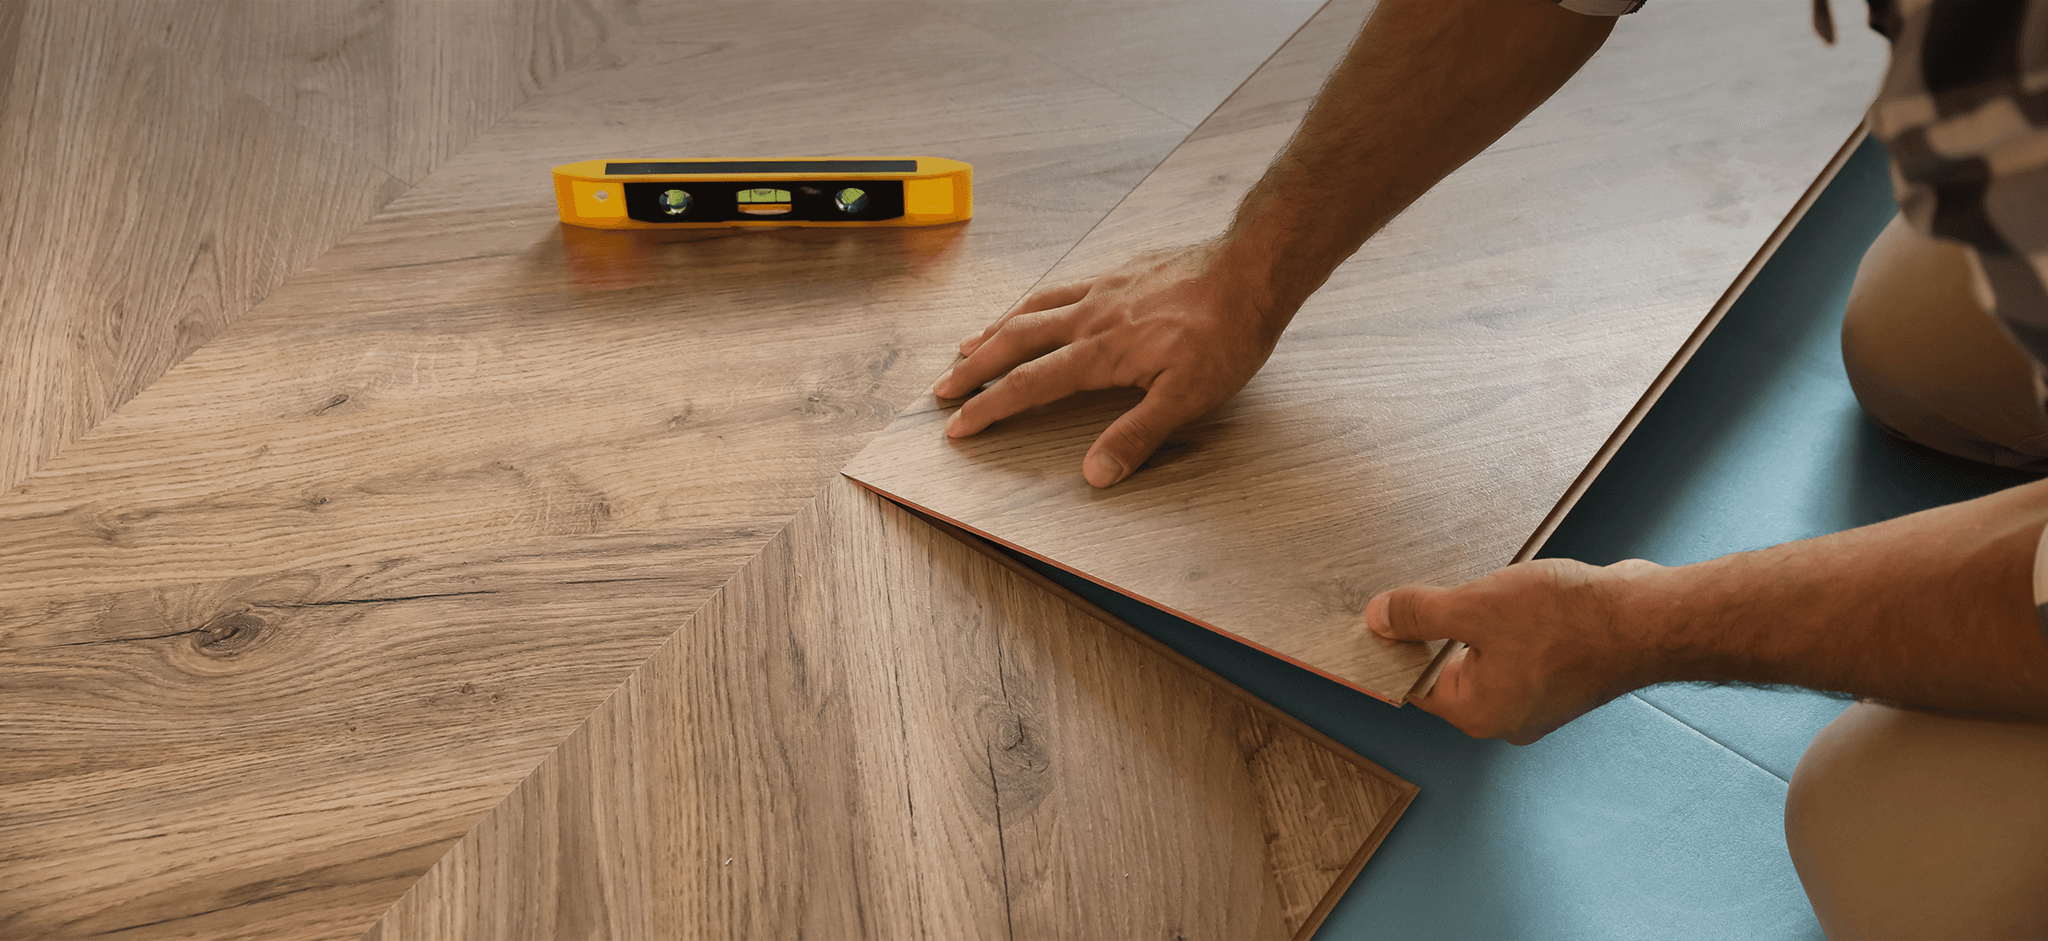
1. Starting from the left with the tongue-side facing the wall, carefully lay the first board in place, using spacers to leave an expansion gap between wall and edges of the plank.

2. Install the second piece by aligning the butt end with the end of the first piece at a 45 degree angle. Gently push the second piece down until the tongue and groove lock together to secure the joint on the ends. The planks should lay flat. Continue in this manner until reaching the final board in the first row.

3. Cut the final board piece to length and install it in the same manner as the previous piece.

4. Use the extra cut piece to start your next row if it is longer than 8”.

5. When laying the next row and future rows, make sure that there is at least 8” between the plank end joints on adjacent rows. Avoid an “H” pattern by varying the size of your starter piece.

6. Confirm the first row is straight. Install the first board in the next row by angling it up slightly, pushing forward and interlocking the long side. The long side of the plank should fit snug with no gapping.

7. Insert the butt end of the second plank into the butt end of the first plank. Offset the planks by about 1/2.”

8. Slightly lift the second plank and push in slightly along the length of the butt seam until the long side is fully engaged. The adjacent plank will also lift. The butt end seam should stay engaged during this action.

9. Make sure both planks lay flat afterwards and that all seams are tight. Use of a tapping block along the long side of the planks may help to ensure secure engagement.

10. Use a rubber mallet to confirm all seams are flat. Continue installing the rest of the planks of this row.

11. The last row may need to be ripped to fit. Cut the last board to size and install, maintaining your expansion gap.

12. A pull bar can be used to help engage the final row.

13. Lastly, remove all spacers and cover all expansion gaps by replacing your baseboards and trim.

If you need to remove a plank, separate the entire row by gently lifting up at an angle.

Then, with the planks flat on the ground, gently lift the plank on the right-hand side to disengage the butt seams.
Glue Down Installation
We recommend laying floors crossways to the existing floorboard. Refer to the adhesive manufacturer’s guidelines for additional information on subfloor preparations such as trowel size, or moisture barrier requirements.
- Start out by pouring adhesive onto the subfloor. Make sure you do not pour out to much at one time. CALI does not recommend spreading more than an arm’s length (6 to 8 feet) worth of adhesive at a time. This will help to ensure the glue does not flash over before you can adhere the planks.
- Use tapping block as necessary to fit planks together, but be careful not to let installed floor move on the wet adhesive while you are working. Repeat these steps as you move along with the installation.
- Starting from the left with the tongue-side facing the wall, carefully place the first board in place, using spacers to maintain an expansion gap between the wall and edges of the plank.
- Install the second piece by aligning the butt end with the end of the first piece at a 45 degree angle. Gently push the second piece down until the tongue and groove lock together to secure the joint on the ends. Continue in this manner until reaching the final board in the first row.
- Confirm the first row is straight. When laying the next row and future rows, make sure that there is at least 8” between the plank end joints on adjacent rows. Avoid an “H” pattern by varying the size of your starter piece.
- Position the first board in place by angling it up slightly, pushing forward and interlocking the side tongue. The long side of the plank should fit snug with no gapping.
- Insert the butt end of the second plank into the butt end of the first plank. Offset the planks by about 1/2.”
- Slightly lift the second plank and push in slightly along the length of the butt seam until the long side is fully engaged. The adjacent plank will also lift. The butt end seam should stay engaged during this action.
- Make sure both planks lay flat afterwards and that all seams are tight. Use of a tapping block along the long side of the planks may help to ensure secure engagement. Continue installing the rest of the planks of this row.
- Use a pull bar and a hammer to engage the final plank in the row. Insert a spacer to ensure proper expansion space is left. Continue installing the rest of the rows in the same manner.
- The last row may need to be cut lengthwise (ripped). Cut the last board to size. Use pull bar and hammer to engage the length of the last plank.
Quick Tip!
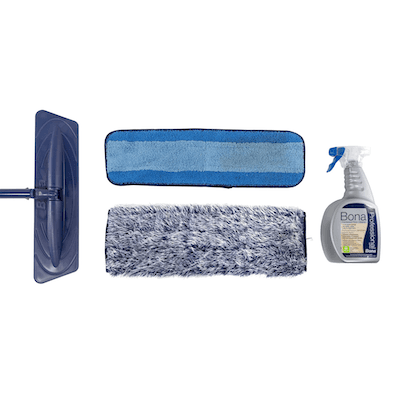
For general cleaning, dry or damp mop as needed using Bona Pro Stone Tile & Laminate Floor Cleaner or a similar product.

Never use a steam mop or wet-mop as standing water may cause permanent damage and the heat from the steam mop may dull the finish. The moisture from the dampened mop should evaporate off the floor quickly.

Although CALI Vinyl flooring is waterproof, it is still a best practice to avoid excess moisture on the floor. Therefore, we recommend soaking up spills immediately using a dry towel or dry mop.

To clean up dried glue use either Bostik Ultimate Adhesive Remover or Titebond Adhesive Remover cleaning wipes.
Preventative Care
Vacuum or sweep the floor with a broom or dust mop on a regular basis or as needed to remove dirt, sand, and grit and prevent scratches. Avoid dragging debris like small rocks across the floor while sweeping.

Do not use vacuums that use a beater bar or turn beater bar off; brush or felt vacuum heads are recommended as opposed to hard heads.
Keep pet nails trimmed to avoid excessive scratching.
To prevent indentations and scratches, remove small diameter buttons/ends from furniture legs and replace with felt tipped non-staining floor protectors with a surface no less than 1” in diameter. Heavier objects may require wider floor protectors. Periodically check the felt tips for wear or buildup of grit/debris and replace as needed.
Fit rolling furniture with soft rubber casters with a diameter of at least 2”.
When moving large appliances or furniture, use proper dollies, glides, or 1/8” Masonite with the shiny side down –do not slide or drag across the floor. Rolling appliances across the floor or using heavy load bearing carts with small wheels may damage the vinyl floor.
Use interior and exterior doormats at entrances to prevent dirt and moisture from being tracked onto the floor. Area rugs are also recommended in front of kitchen sinks and in high traffic areas. Rugs must be made of a breathable material to prevent moisture entrapment. We recommend using a breathable rug underlay; mesh or grid patterns are best. Do not use rugs with solid rubber or vinyl backings as this may damage the finish.
Limit direct sunlight on the floor by using curtains and blinds in areas that are exposed to high UV rays.
Abrasive or harsh chemicals should not be used to clean the floor. Never use any of the following products: mineral spirits, paint thinner, acetone, ammonia-based cleaners, acrylic finishes, wax-based products, detergents, bleach, polishes, oil soap, abrasive cleaning soaps, or acidic materials such as vinegar. Never apply wax treatments to the floor.
Heating units or non-insulated ductwork close to the flooring or subfloor may cause “hot spots” which must be eliminated prior to installation.
Heavy furniture (500+ lbs.) may obstruct the free, natural movement of a floated floor.
Do not install flooring under permanent or fixed cabinetry and never nail or screw anything through a floated floor.
Lighter colors and darker colors naturally show more dirt, flaws, and marks and are considered higher maintenance flooring colors.